How to knit a contrast turned up hem (for Rose)
I promised a tutorial about turned up contrast hems but I'm going to cross post it to my blog as well. Blogger is not cooperating fully with the many many pics for this post so you'll have to bear with some links. This tutorial will show you how to do the hem on the sleeve I posted about yesterday. Hope this helps anyone who was wondering how I did it.
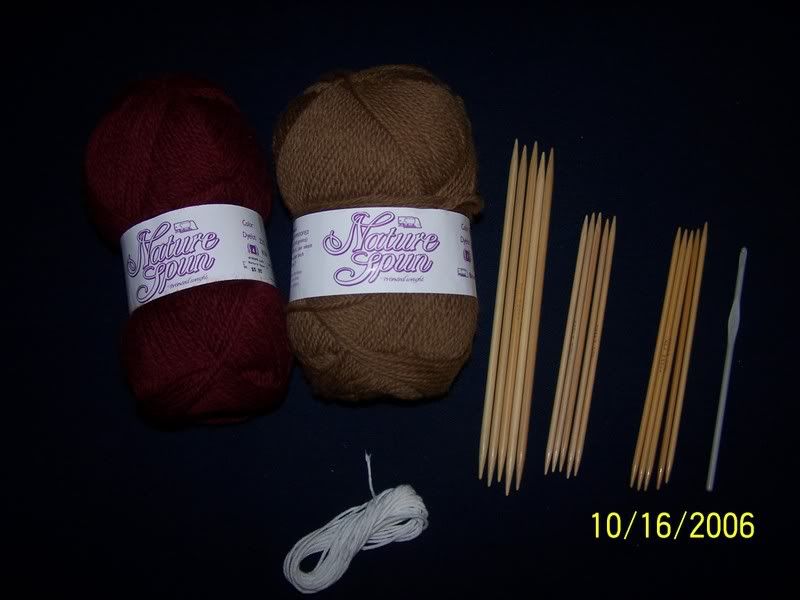
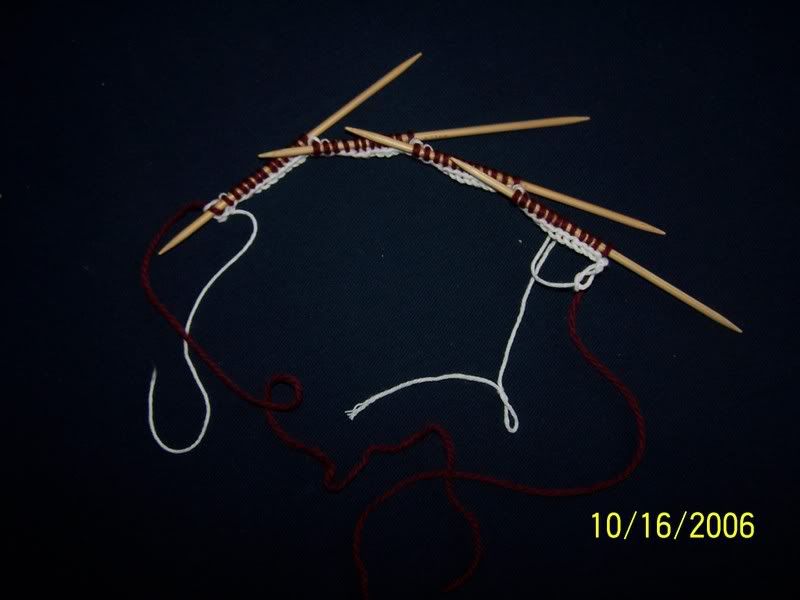
1. Gather your materials. You'll need your MC and CC, some waste yarn and needles in three different sizes. I use the needles I got gauge with (3.75mm), one size down for knitting the facing (3.5mm) and a few sizes up for joining the live stitches and the freed c/o stitches (5mm).
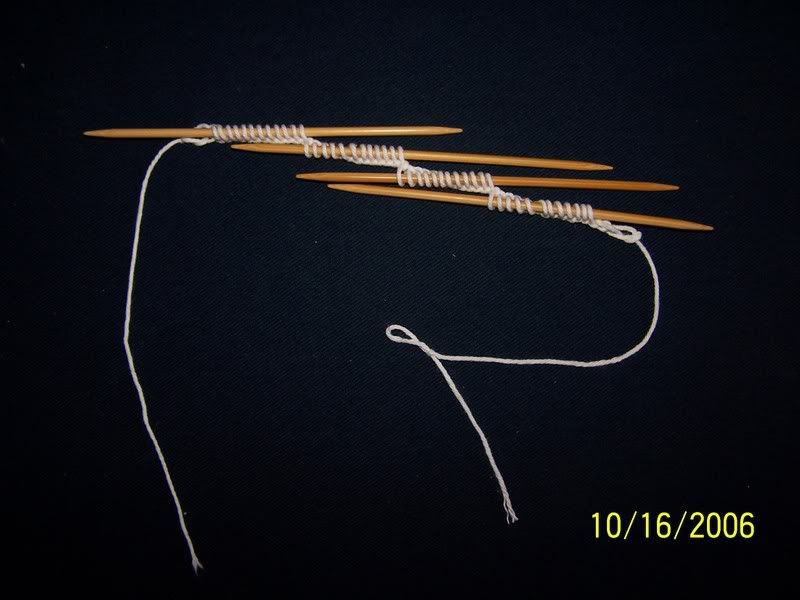
2. Cast on 90% of the stitches you want for your sleeve provisionally onto your smaller needles.
3. Knit one row with your MC. I do this so that my CC doesn't show when I go to knit up the hem, you'll be knitting two stitches of MC together rather than one of your CC and one MC which looks strange.
4. Join your CC and join the work in the round (if that's the way you're knitting, this also works when you're knitting flat but it's not as neat). You'll knit for however many rounds you want the hem facing to be minus one (I want my facing to be ten rounds so I knit nine rounds even).
5. Knit one round in CC *K9, M1 around to increase up to the number of stitches you want your sleeve to be around. If your stitch count didn't work out exactly here don't really worry about it. The sleeve here needs to be 53 stitches around so I c/o 48 (53-5=48 as I rounded, 90% of 53 is 47.7), just make sure to do enough M1 increases to get to your sleeve diameter.
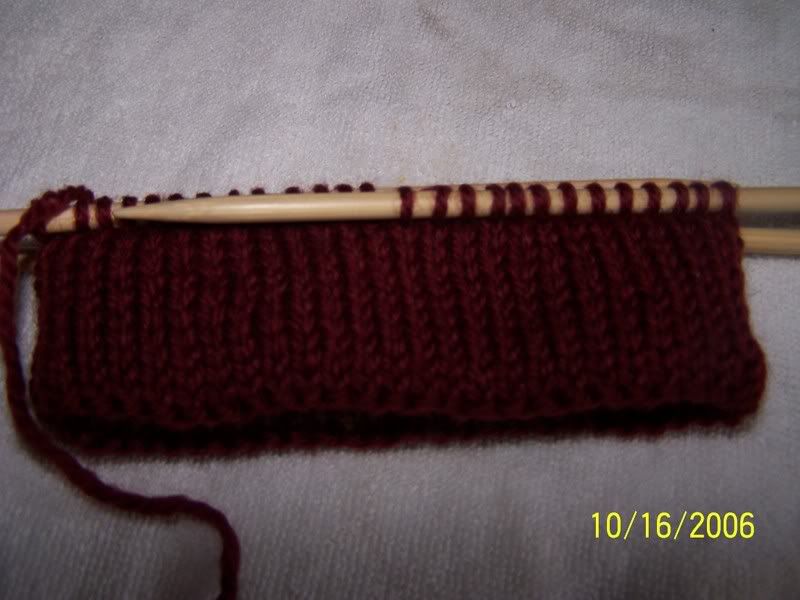
6. Reattach your MC and knit one round and purl one round (this is the turning round and gives a neat finished edge). Alternately you could do a picot turning round or eliminate the turning round altogether (although the hem will lay neater with the purl or picot round but it's all what you're happy with the look of).
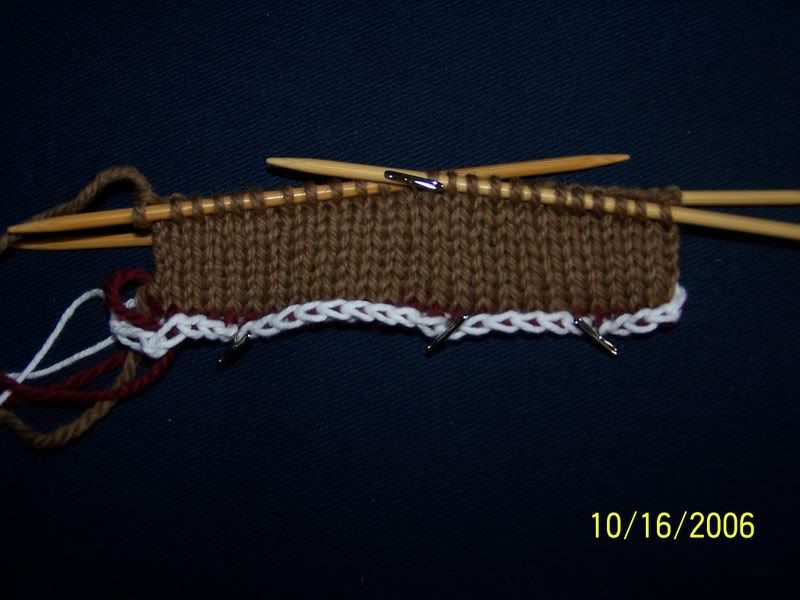
7. Knit around in your MC until the work and facing are the same length (fold up the hem to check this). I trim all the dangling ends and weave them in at this point, you don't need to but it makes everything neater and easier to keep straight.

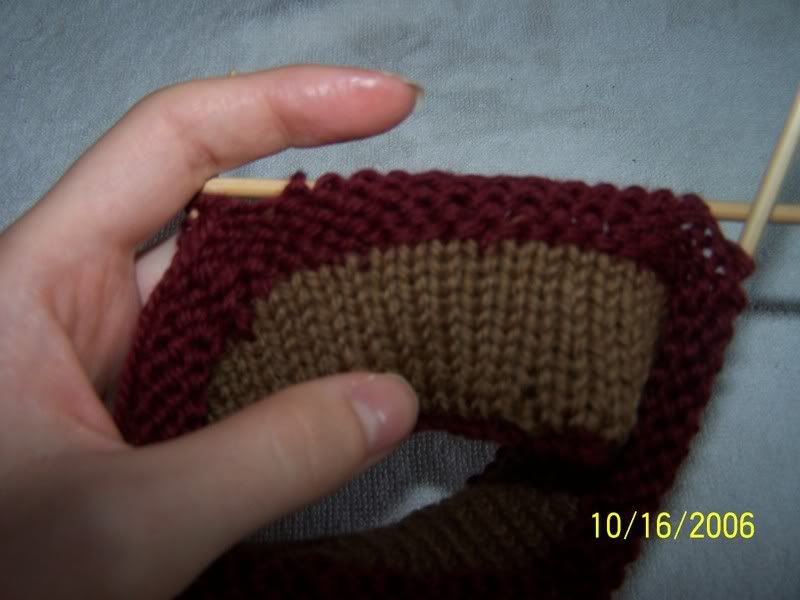
8. Carefully unzip the provisional cast on, putting the newly live stitches on a spare needle. I like to use a small needle as it's easier to pick the sts up and I only free one needle's worth at a time (no need to have too many points going on at once) remembering that there will not be exactly as many c/o sts as live sts (you c/o 90% remember?). To deal with the different stitch counts you'll need to knit just the live stitch here and there to make up for the lack of c/o stitches.

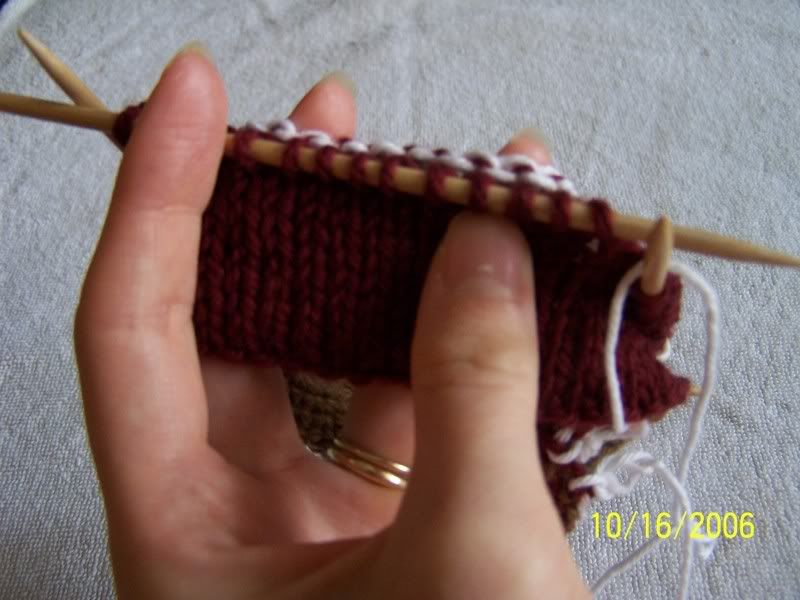
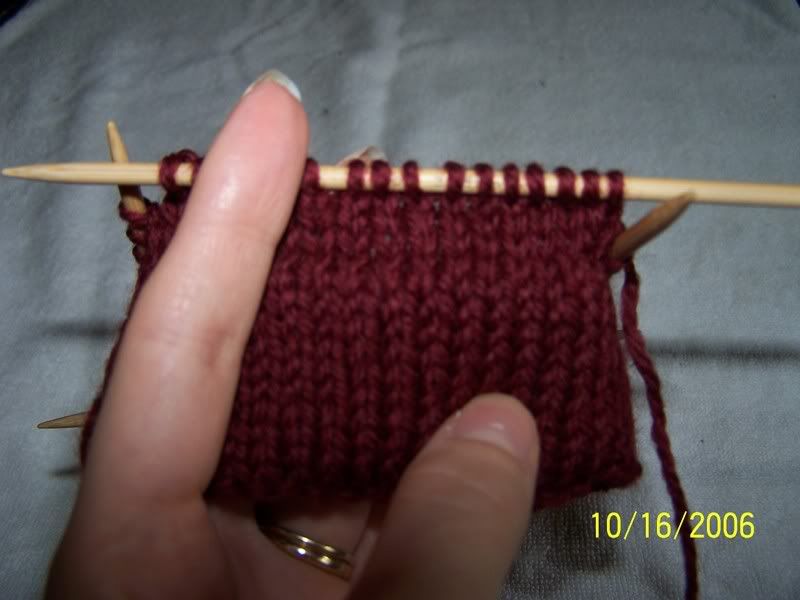
9. Using your largest needles K2tog around your sleeve knitting one stitch from each the c/o edge and live stitches together (again, remember to knit just a live stitch every now and again as many times as it takes to make the stitch counts match. For this sleeve I had to do this five times 53-48=5). I use the larger needle as it reduces the hems propensity to flare a bit, if you use your working needles the K2togs will be tight and make a hard line around your sleeve that will be really visible on the RS of the work. It'll look like this when it's done.
10. Now you can knit away doing whatever else you need to do to the sleeve. Pics of the finished hem are here: the inside, and the outside.
You can also cast on normally and sew up your hems but I like this way a lot better, my sewing skills leave something to be desired.
Appologies also for the poor pics, my camera is dying and it's terribly difficult to take pics of yourself knitting.
My blog lives here.
1. Gather your materials. You'll need your MC and CC, some waste yarn and needles in three different sizes. I use the needles I got gauge with (3.75mm), one size down for knitting the facing (3.5mm) and a few sizes up for joining the live stitches and the freed c/o stitches (5mm).
2. Cast on 90% of the stitches you want for your sleeve provisionally onto your smaller needles.
3. Knit one row with your MC. I do this so that my CC doesn't show when I go to knit up the hem, you'll be knitting two stitches of MC together rather than one of your CC and one MC which looks strange.
4. Join your CC and join the work in the round (if that's the way you're knitting, this also works when you're knitting flat but it's not as neat). You'll knit for however many rounds you want the hem facing to be minus one (I want my facing to be ten rounds so I knit nine rounds even).
5. Knit one round in CC *K9, M1 around to increase up to the number of stitches you want your sleeve to be around. If your stitch count didn't work out exactly here don't really worry about it. The sleeve here needs to be 53 stitches around so I c/o 48 (53-5=48 as I rounded, 90% of 53 is 47.7), just make sure to do enough M1 increases to get to your sleeve diameter.
6. Reattach your MC and knit one round and purl one round (this is the turning round and gives a neat finished edge). Alternately you could do a picot turning round or eliminate the turning round altogether (although the hem will lay neater with the purl or picot round but it's all what you're happy with the look of).
7. Knit around in your MC until the work and facing are the same length (fold up the hem to check this). I trim all the dangling ends and weave them in at this point, you don't need to but it makes everything neater and easier to keep straight.
8. Carefully unzip the provisional cast on, putting the newly live stitches on a spare needle. I like to use a small needle as it's easier to pick the sts up and I only free one needle's worth at a time (no need to have too many points going on at once) remembering that there will not be exactly as many c/o sts as live sts (you c/o 90% remember?). To deal with the different stitch counts you'll need to knit just the live stitch here and there to make up for the lack of c/o stitches.
9. Using your largest needles K2tog around your sleeve knitting one stitch from each the c/o edge and live stitches together (again, remember to knit just a live stitch every now and again as many times as it takes to make the stitch counts match. For this sleeve I had to do this five times 53-48=5). I use the larger needle as it reduces the hems propensity to flare a bit, if you use your working needles the K2togs will be tight and make a hard line around your sleeve that will be really visible on the RS of the work. It'll look like this when it's done.
10. Now you can knit away doing whatever else you need to do to the sleeve. Pics of the finished hem are here: the inside, and the outside.
You can also cast on normally and sew up your hems but I like this way a lot better, my sewing skills leave something to be desired.
Appologies also for the poor pics, my camera is dying and it's terribly difficult to take pics of yourself knitting.
My blog lives here.
posted by fibersnob at
11:02 AM
![]()


5 Comments:
Not nearly so poor pics as not having any pics at all!!! Could you link to/post your blog address with a clickable link? Thanks!
By Anonymous, at 12:37 PM
Wow what a lovely tutorial! I'll be sure to use these on my next project. Thank you!
By Liane, at 1:10 PM
That's great! I'll have to try it next time. I rarely do hems because I dislike the sewing up, but I do think they look nicer than ribbing.
By Unknown, at 4:08 PM
Just an aside...
I didn't want to mess around with casting on fewer stitches and having to increase up so I cast on 100% on needles 2 sizes smaller and it worked like a charm...
Try both ways and see what works best. It's only a sleeve... I did it on the body so it was a bit of a gamble...
By Anonymous, at 7:02 PM
Hi, my name is Leonardo, I live in Brazil, Rio de Janeiro, and I love Elizabeth Zimmermann... I like so much your blog and your tutorial about "How to knit a contrast turned up hem (for Rose)"... I just made this in another way, and I want ask you, if can I translate to portuguese your technique about "hem" in my blog for brazilian knitters? Of course I'll put a link to indicate your blog, saying where I found this technique... thanks for all, big hug from Brazil, Leo.
By Leonardo Ruivo, at 3:34 PM
Post a Comment
<< Home